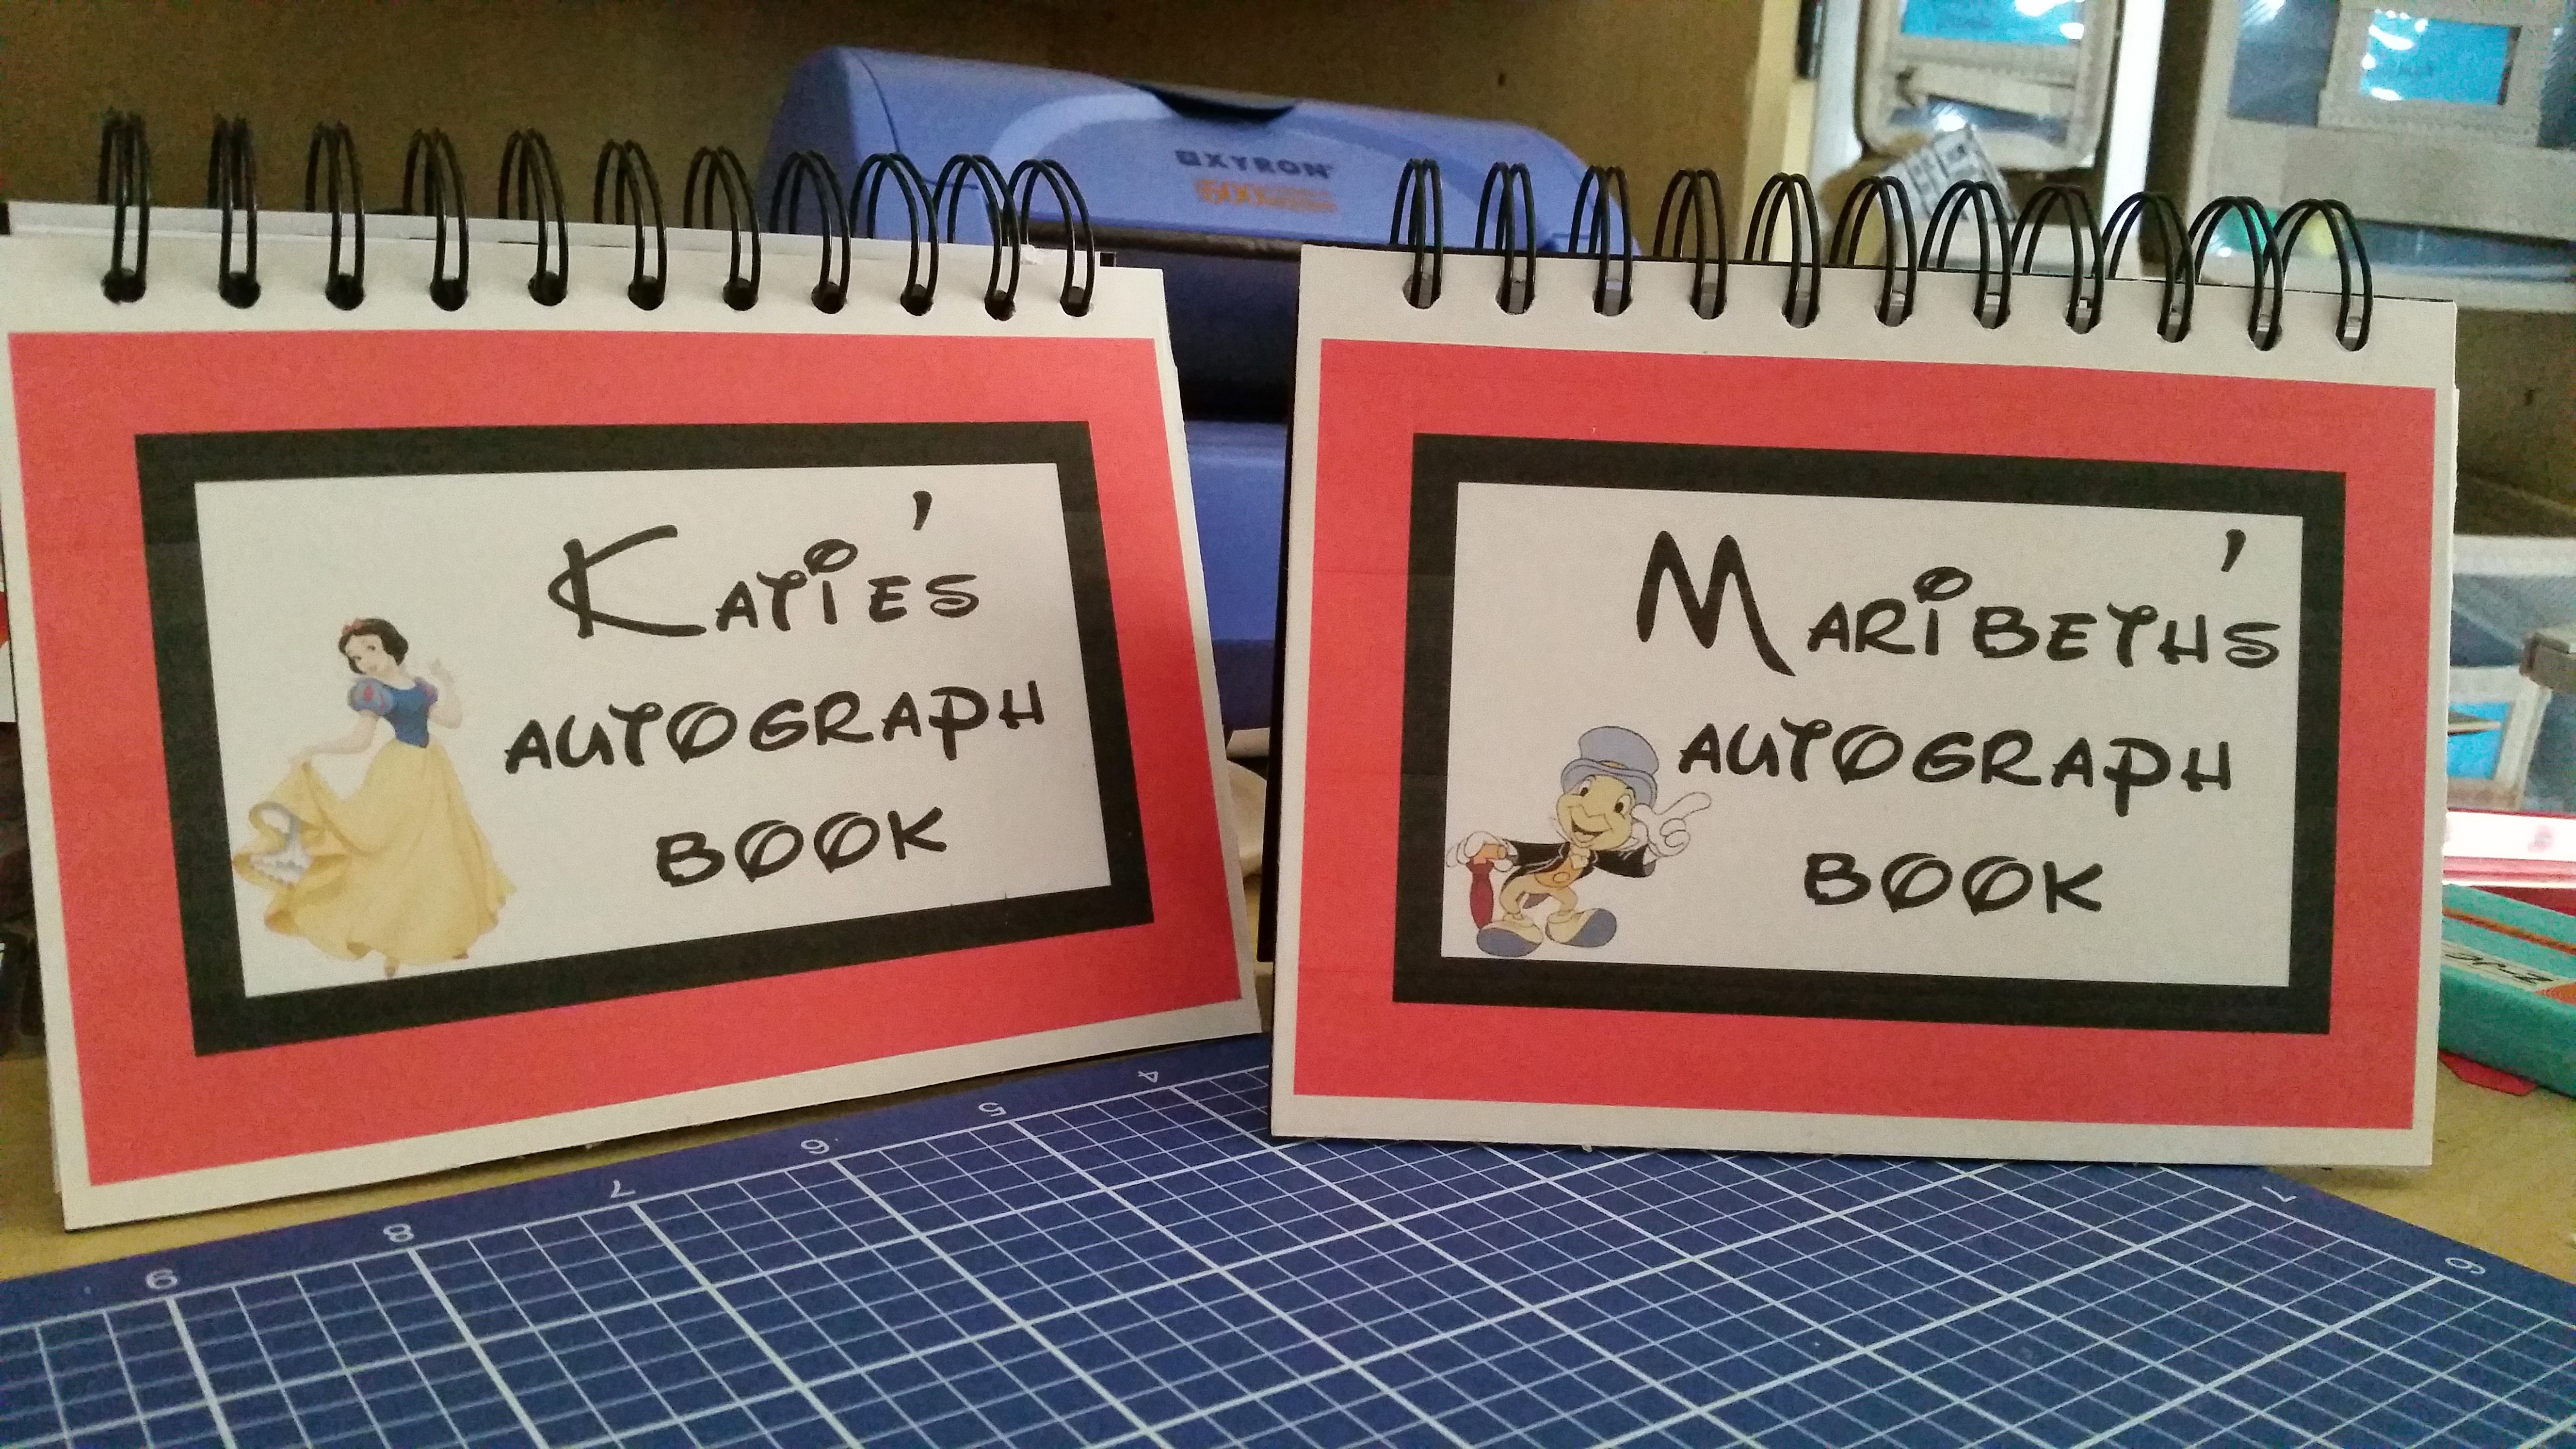
Today I share how I made us custom autograph books for our trip! These are custom with our names on them (and favorite characters) and also much cheaper than the ones they sell in the park!
Supplies needed:
Book you want to convert into the autograph book
(I used this 4×6 sketch book from Joann.com)
“Sticker Paper” to print your cover on
Extra scrapbook paper or card stock
Hole punch
Ruler
Xacto Knife
Printer
Sticker maker
First I pulled off the cover from the spiral very carefully. Using extra (white) scrapbook paper, I cut down a piece that would fit on the cover. Since the covers are black and the sticker paper is clear, it wasn’t going to show my design very well. I have to say cutting the paper to fit was the hardest part and I went through 3 pages in my attempts. OOPS! (Measure twice, cut once!)
I already had my design figured out in Photoshop – but if you don’t have Photoshop there are plenty of other free image programs. There are also TONS of Disney fonts out there to use – I used Disney Park. I printed it out on a plain sheet of paper first that way I could make sure I had the dimensions right before printing it out on the sticker paper.
Warning! It is best not to touch the sticker paper immediately after it comes out of the printer. Let it sit to dry for a couple of minutes. (Learned this one the hard way too)
I had also made a “If found return to” sticker for the inside of the book – rumor has it if you lose your book and Disney finds it they’ll mail it back. I put if found before 9/29 (our last day) return to our resort. If not, return to with our address and stuck it in the inside of the back page. This was also good practice for lining up the sticker paper.
I trimmed the cover images down on the sticker paper and carefully stuck them to my white scrapbook paper. I tried to center them as best I could, but left a little bit more room at the top since the spiral binding would be there.
I then ran that through my XYron sticker maker and carefully stuck it to the removed book cover starting in one corner and trying to line things up as best I could. (Xacto knife came in handy to trim any excess.)
The holes on these books are squares, but the only hole punch I have is round so I used that rather than try to Xacto out all the little squares.
Then I carefully put the cover back on the book just as I had taken it off, and squeezed the binding to itself just to make sure it wasn’t too open and it would fall apart.
And that’s it!
Probably the easiest of the projects I have done for Disney and a great result!